After a few too many frustrating unloads at the ramp—and some awkward solo reloads at the end of long days—I knew I needed a better way to guide my raft onto the trailer. I didn’t want to drop hundreds on a pre-built setup, and honestly, I liked the idea of building something myself.
So I built a DIY raft trailer roller using a pair of press-fit bushings and a short section of EMT conduit. The whole thing came together quickly, and it’s worked flawlessly ever since.
What I Used
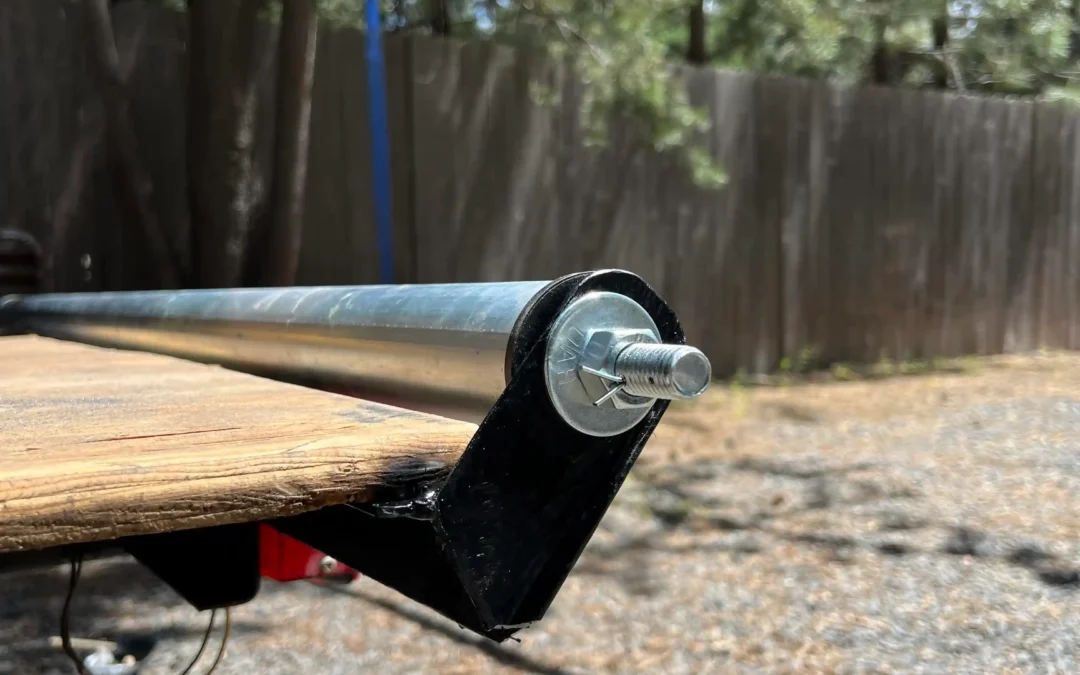
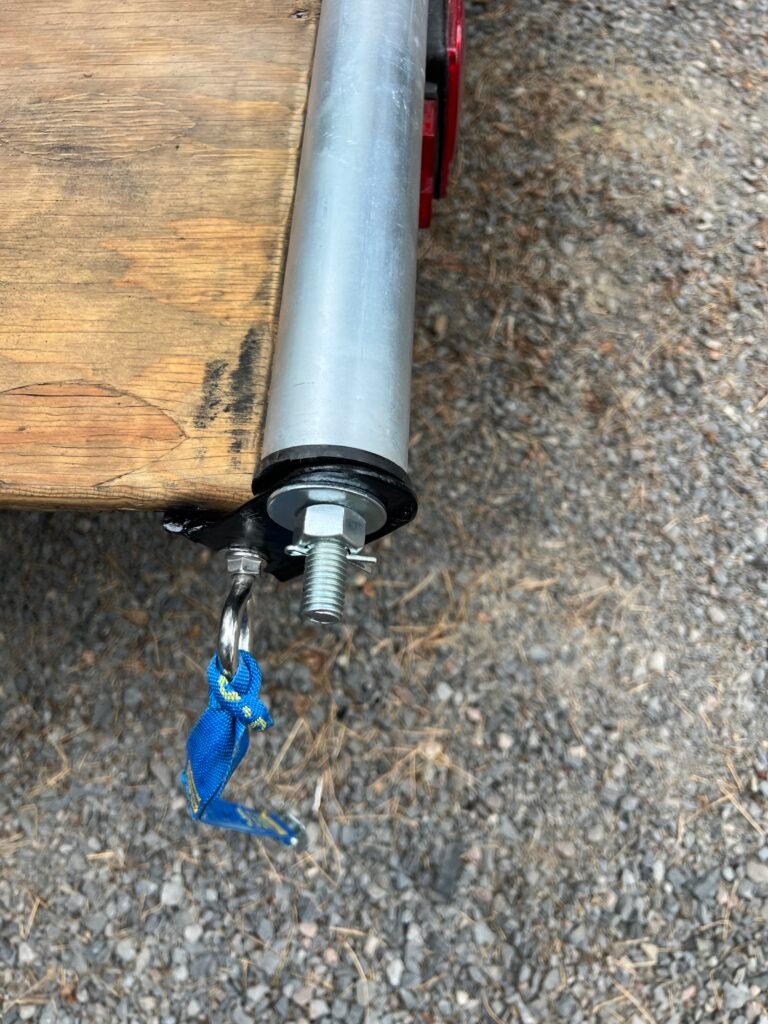
I sourced a roller bushing kit online that’s built specifically for rafting setups. It’s designed to fit inside standard 2-foot sections of metal EMT conduit, which you can find at just about any hardware store. I cut the conduit to match the width I needed and pressed the bushings into each end.
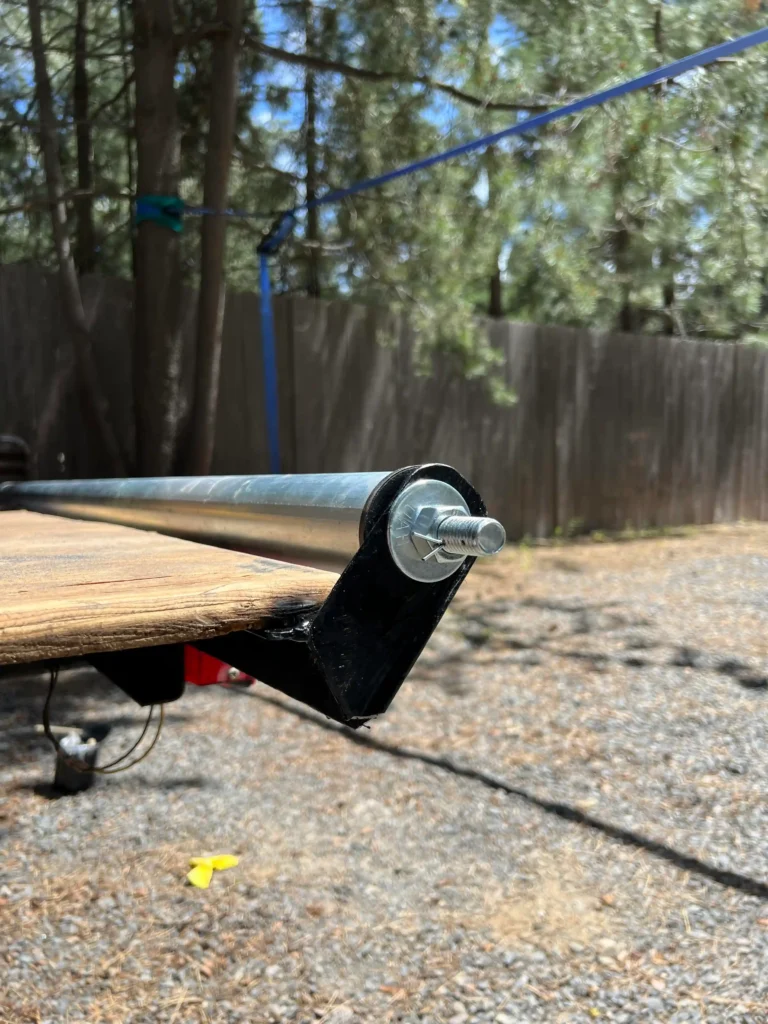
For the mounting setup, I used a pair of basic metal brackets that I either modified or built to suit my trailer. A single bolt through each side was all it took to secure the roller to the trailer’s frame. I added a little spacing to keep everything spinning smoothly, and that was it—no welding, no over-complicated fabrication.
How It Works
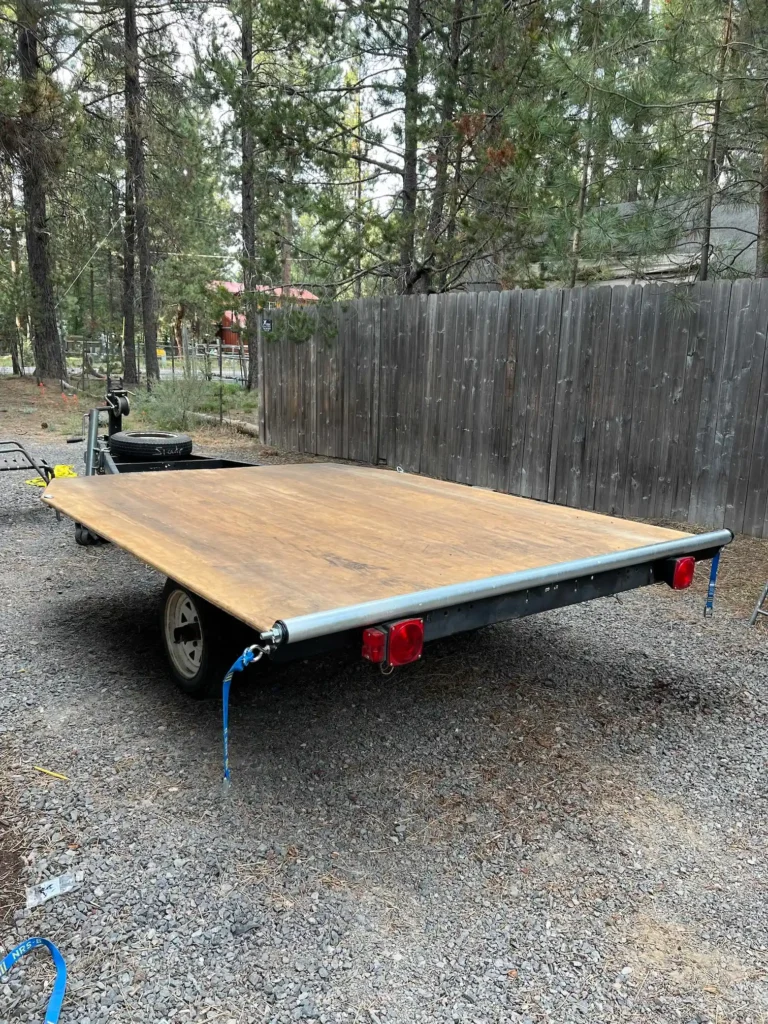
The roller now sits just low enough on the rear crossbar of the trailer to make a difference. When I’m pulling the raft out of the water, I can float it up to the trailer and just guide it on with one hand. No dragging, no lifting, and no watching the raft scrape across the frame. It also makes a big difference when the boat is full of gear and heavier than I want to muscle around.
Why I’d Recommend It
The whole setup cost me less than $100 and only took a couple of hours to build. It’s one of those upgrades that you don’t realize how much you needed until you’ve used it once. If you’re comfortable cutting some conduit and drilling a couple of holes, this is absolutely a DIY project worth tackling.
Here’s the roller kit I used if you want to check it out for yourself. Or check out other options for a DIY roller here.